
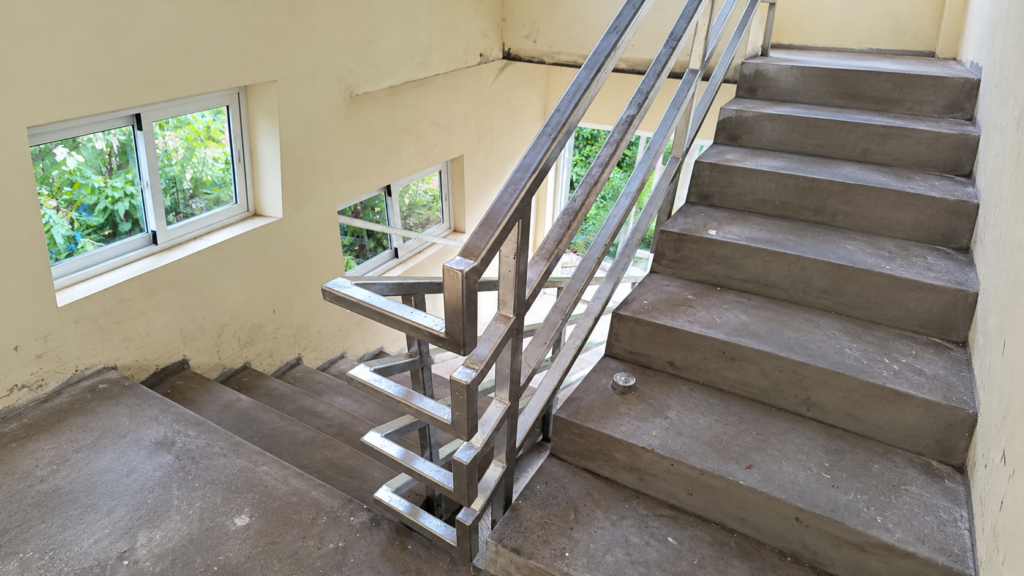
A gate can have beautiful welds and still refuse to close properly. Likewise, a railing can appear straight on the fabrication table but arrive on site with base plates that do not align with the mounting points.
In many cases, the problem did not begin with the welding. It began with an inaccurate measurement, a poorly set saw, an incorrect cut, or parts that were not properly aligned before tacking. This is why welding fit-up deserves the same attention as the finished weld.
Precise cutting and accurate welding fit-up establish the dimensions, alignment, and joint conditions required for successful fabrication. When these early stages are handled correctly, welding becomes more consistent, finishing becomes easier, and installation becomes more predictable.
However, when the cuts and fit-up are wrong, the rest of the project often becomes a chain of corrections. Each correction consumes labor, material, consumables, and ultimately profit.
What Does Accurate Welding Fit-Up Mean?
Welding fit-up is the process of positioning and preparing components before welding. It includes:
- Joint gaps
- Bevel angles
- Component alignment
- Corner angles
- Root openings
- Overall dimensions
- Squareness and flatness
It is important to understand that precision does not always mean closing every gap as tightly as possible. Some welded joints require a specified root opening, bevel, or land to achieve the required penetration and weld quality.
Therefore, the objective is not simply to create the smallest possible gap. Instead, the objective is to prepare and position the joint according to the drawing, approved dimensions, and applicable welding procedure.
1. Accurate Cuts Create More Consistent Welds
The quality of a welded joint is strongly influenced by the condition of the parts before welding begins.
For example, imagine joining two pieces of thin-wall square hollow section. The first joint has a straight, even cut with a consistent opening. The second has a crooked cut that creates a wedge-shaped gap.
With the first joint, the welder can maintain a more consistent travel speed, electrode angle, and heat input. With the second, the welder must continuously adjust as the gap changes. This makes it more difficult to control the weld pool and increases the possibility of burning through the thinner edges.
A skilled welder may be able to compensate for some imperfections. Nevertheless, correcting an avoidable mismatch takes additional time, and it does not automatically make an out-of-tolerance joint acceptable. Lincoln Electric identifies joint fit-up and joint consistency among the factors that affect welding performance.[1]
Consider a railing picket cut at the wrong angle. One edge may touch the rail while the opposite edge has a large opening. Grinding and recutting the picket before welding creates a far more predictable joint than attempting to bridge the mismatch with extra weld metal.
In other words, accurate cutting and proper welding fit-up give the welder consistent conditions in which to produce consistent welds.
2. Poor Fit-Up Can Increase Distortion
Distortion occurs because weld metal and the surrounding base material expand during heating and contract during cooling. Although some movement is expected, poor fit-up can make the problem worse.
When a large or uneven gap must be filled, the joint usually requires more weld metal and additional heat. As that larger weld cools and contracts, it can pull the components out of alignment. TWI identifies poor fit-up and overwelding as factors that contribute to distortion.[2]
For instance, consider a rectangular gate frame with poorly matched mitered corners. Filling the openings may require more welding than the intended joint design. Consequently, the frame can pull out of square, twist, or bow. The fabricator must then spend additional time straightening the frame before fitting the hinges, pickets, or decorative panels.
Accurate cuts and controlled welding fit-up reduce this source of variation. Even so, good fit-up must still be supported by:
- Proper tack-weld placement
- Suitable clamping and restraint
- Balanced welding
- An appropriate welding sequence
- Controlled heat input
Therefore, precise fit-up does not eliminate distortion by itself. Rather, it provides a stable foundation for the other distortion-control methods to work effectively.[3]
3. Small Errors Become Major Installation Problems
A dimensional error that looks minor in the workshop can become a serious problem on site.
Suppose a gate leaf is designed to finish at 1,800 mm wide. However, inaccurate cutting or assembly causes the completed leaf to measure 1,806 mm.
Six millimeters may not sound significant. Nevertheless, that extra width can consume the clearance required for the hinges, center gap, lock, or gate stops. As a result, the installation crew may have to grind, cut, reposition hardware, or return the gate to the workshop.
The same principle applies to railings. If the posts are cut to inconsistent lengths, the top rail may rise and fall instead of following the intended line. Similarly, if the base plates are welded in the wrong positions, their anchor holes may not align with the approved mounting locations.
This is why dimensions should be checked at several stages:
- Before cutting
- After the first cut
- During dry fit-up
- After tack welding
- After final welding and cooling
For rectangular frames, do not check only the width and height. Also verify both diagonals, corner squareness, member straightness, and overall flatness.
By checking throughout the welding fit-up process, the fabricator finds small errors while they are still inexpensive to correct.
4. Precise Welding Fit-Up Improves Appearance
Even when a poorly fitted joint can be welded, the finished appearance may still suffer.
Uneven gaps often produce inconsistent weld-bead width and shape. In addition, excessive filling may require more grinding, which can damage surrounding surfaces or create visible low spots.
This becomes especially important on gates, railings, furniture, and stainless steel work where the welded joints remain visible. Customers may not understand every technical detail of fabrication, but they can recognize crooked lines, uneven spacing, excessive grinding, and poorly aligned components.
By contrast, components that fit correctly allow the welds and transitions to appear more uniform. Therefore, accurate preparation contributes directly to the professional appearance of the finished product.
5. Better Fit-Up Makes Production More Predictable
Accurate fabrication is also easier to estimate. Consistent welding fit-up removes much of the unplanned grinding, trimming, and adjustment that makes production time difficult to predict.
When parts are produced to consistent dimensions, the business can establish realistic times for cutting, assembly, welding, finishing, and installation. However, when every component requires individual correction, production time becomes unpredictable.
For example, consider 20 poorly cut components that each require six minutes of grinding, checking, and adjustment:
20 parts × 6 minutes = 120 minutes, or 2 hours of corrective work.
At a shop rate of EC $160 per hour, that represents:
2 hours × EC $160 = EC $320 in shop time.
That EC $320 does not include replacement material, grinding discs, cutting blades, welding consumables, electricity, or delays to other jobs.
Now compare that loss with the few minutes required to verify the first cut and secure a repeat stop. The additional preparation is far less expensive than correcting an entire batch.
Therefore, the apparent shortcut—cutting quickly and fixing the pieces later—often makes the complete project slower and less profitable.
6. Precision Improves Safety and Structural Reliability
For structural and load-bearing work, welding fit-up is not only about appearance or speed. It can also affect the integrity of the joint.
Excessive gaps, incorrect bevels, poor alignment, and mismatched components can make it difficult to achieve the required penetration and weld profile. In addition, forcing parts together with clamps can introduce stress before welding begins.
Where a welding procedure specifies a particular joint preparation or root opening, those requirements must be followed. A joint that merely looks closed may not provide the conditions needed for proper fusion.
Consequently, critical work should be inspected against the drawing, approved procedure, and applicable code before final welding.
Accurate Work Compared With Corrective Work
| Production stage | Accurate cuts and fit-up | Poor cuts and fit-up |
|---|---|---|
| Assembly | Parts locate predictably | Parts require trimming, forcing, or adjustment |
| Welding | Joint conditions remain consistent | Changing gaps make welding more difficult |
| Distortion control | Heat and shrinkage are easier to manage | Extra weld metal can increase movement |
| Finishing | Less grinding and filling are required | More corrective grinding and blending are needed |
| Appearance | Lines, spacing, and joints look uniform | Misalignment and uneven joints remain visible |
| Installation | Finished dimensions support the planned fit | Site modifications may become necessary |
| Costing | Production time is easier to estimate | Rework consumes labor and profit |
A Practical Routine Before Welding
A reliable welding fit-up procedure does not have to be complicated. However, it must be followed consistently.
- Confirm the drawing dimensions, joint details, and required tolerances.
- Inspect the material for bends, twists, damage, and dimensional variation.
- Allow for cutting kerf and mark the waste side clearly.
- Verify the saw angle, fence, vise, blade condition, and material support.
- Check the first completed cut before producing repeated parts.
- Use stops, spacers, or jigs when appropriate.
- Check those stops periodically to ensure they have not moved.
- Remove burrs and prepare the joint surfaces.
- Dry-fit the components and check alignment, gaps, angles, and dimensions.
- Clamp the assembly securely without deforming the material.
- Apply controlled tack welds in suitable locations.
- Recheck the complete assembly before final welding.
- Verify the dimensions again after welding and cooling.
Remember, a stop can repeat an incorrect measurement just as efficiently as a correct one. Always verify the setup before trusting the full batch.
Build Quality Before You Strike the Arc
For gates, railings, frames, brackets, and structural assemblies, cutting and fit-up deserve the same level of attention as welding.
First, accurate measurements establish the correct dimensions. Next, precise cuts create predictable joints. Then, proper positioning and clamping maintain alignment. Finally, controlled welding preserves the work that was already done correctly.
When this sequence becomes part of the shop’s standard process, the results are clear: fewer corrections, less grinding, reduced distortion, faster installation, more accurate estimates, and stronger profitability.
A clean weld is valuable. However, even the best-looking weld cannot correct an assembly that was built to the wrong dimensions.
At Progressive Welding Solutions, we believe quality is built into the project before the first arc is struck. Precise cuts and accurate welding fit-up are not extra steps—they are essential parts of professional fabrication.
Technical References
- Lincoln Electric — Weld Process Guide
- TWI — Distortion: Prevention by Design
- TWI — Distortion Control: Prevention by Fabrication Techniques
