
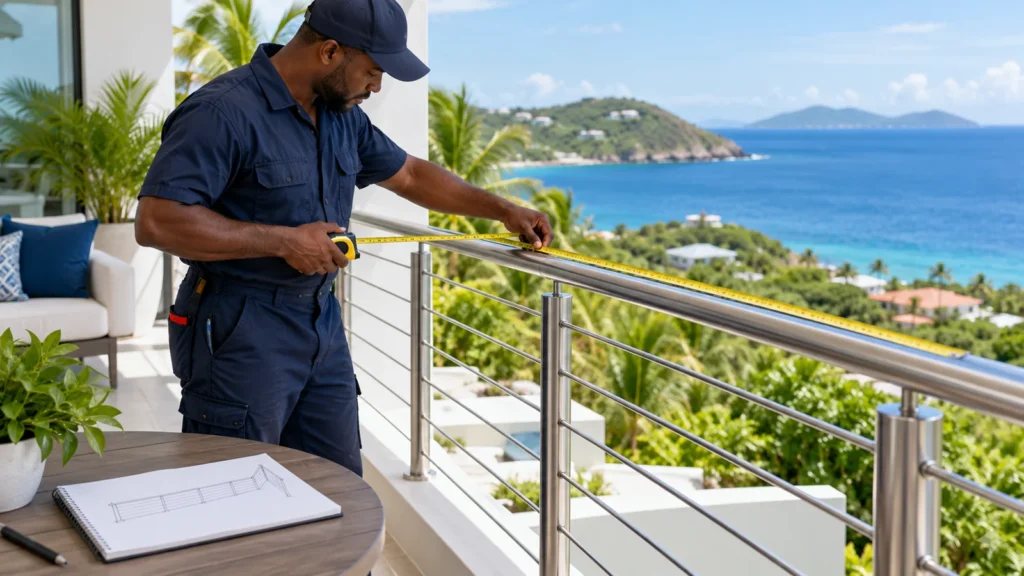
A railing estimate usually begins with a length, not the size of the floor. If your balcony is 12 feet long and 8 feet deep, multiplying those numbers gives 96 square feet of floor area. It does not tell you how much railing you need. Measure the edges that actually require railing, then add those runs together.
Draw the railing route first
Make a simple top-view sketch of the balcony, terrace or landing. Mark the walls, open edges, stair opening and any access gate. Give each proposed railing run a letter. You are mapping where the system goes, rather than calculating the area enclosed by it.
An L-shaped balcony might need a 12-foot front run and an 8-foot side run. Its preliminary railing length is 20 linear feet. If a third edge is against a wall and does not need railing, do not count that edge. Keep a separate note for a gate or another interruption so it can be discussed during assessment.
Measure each run using one unit
Write the measurement beside the matching letter on your sketch. Use feet throughout, or meters throughout; avoid mixing them in the same total. If you record feet and inches, convert consistently before entering a decimal field: 6 feet 6 inches is 6.5 feet, not 6.6 feet.
Measure the intended route as accurately as you can without leaning over an edge. Approximate homeowner measurements are useful for budgeting. They do not replace the final measurements needed for fabrication or installation.
Treat the stairs as a separate run
Do not assume the horizontal floor measurement equals the sloping handrail length. Record a stair section separately and label whether your measurement follows the slope or measures its horizontal projection. Add photographs that show the whole flight and its landings. PWS can resolve the final geometry during the site assessment.
For several balconies, total each location separately before producing a master total. This makes it easier to spot a missing section and explain why two areas might need different installation details.
Turn the measurements into a useful budget check
Open the PWS Railing Feasibility Calculator and follow the units and field guidance shown there. Keep your sketch beside you. A preliminary calculator range helps you decide whether to move forward; the final quotation depends on the selected system, site measurements, access and fixing conditions.
Ready for the next step? Use the site assessment booking page, share your property location and attach or send the sketch and photos. Explore modern railing systems before the visit so you can explain the look you prefer.
