
A close-up can show the gate pattern you want. A photo taken three steps back can show the driveway rising directly into the path of the gate. Before a PWS site assessment in Saint Lucia, take three views that help us understand both the design and the property.
1. Stand back and show the whole opening
Include both pillars, the driveway approach and the ground beyond the opening. For a railing, include the full stair flight or balcony edge and both ends of the proposed run. Tell us which way a gate should open or where a handrail should start and stop.
2. Show where the steelwork will meet the building
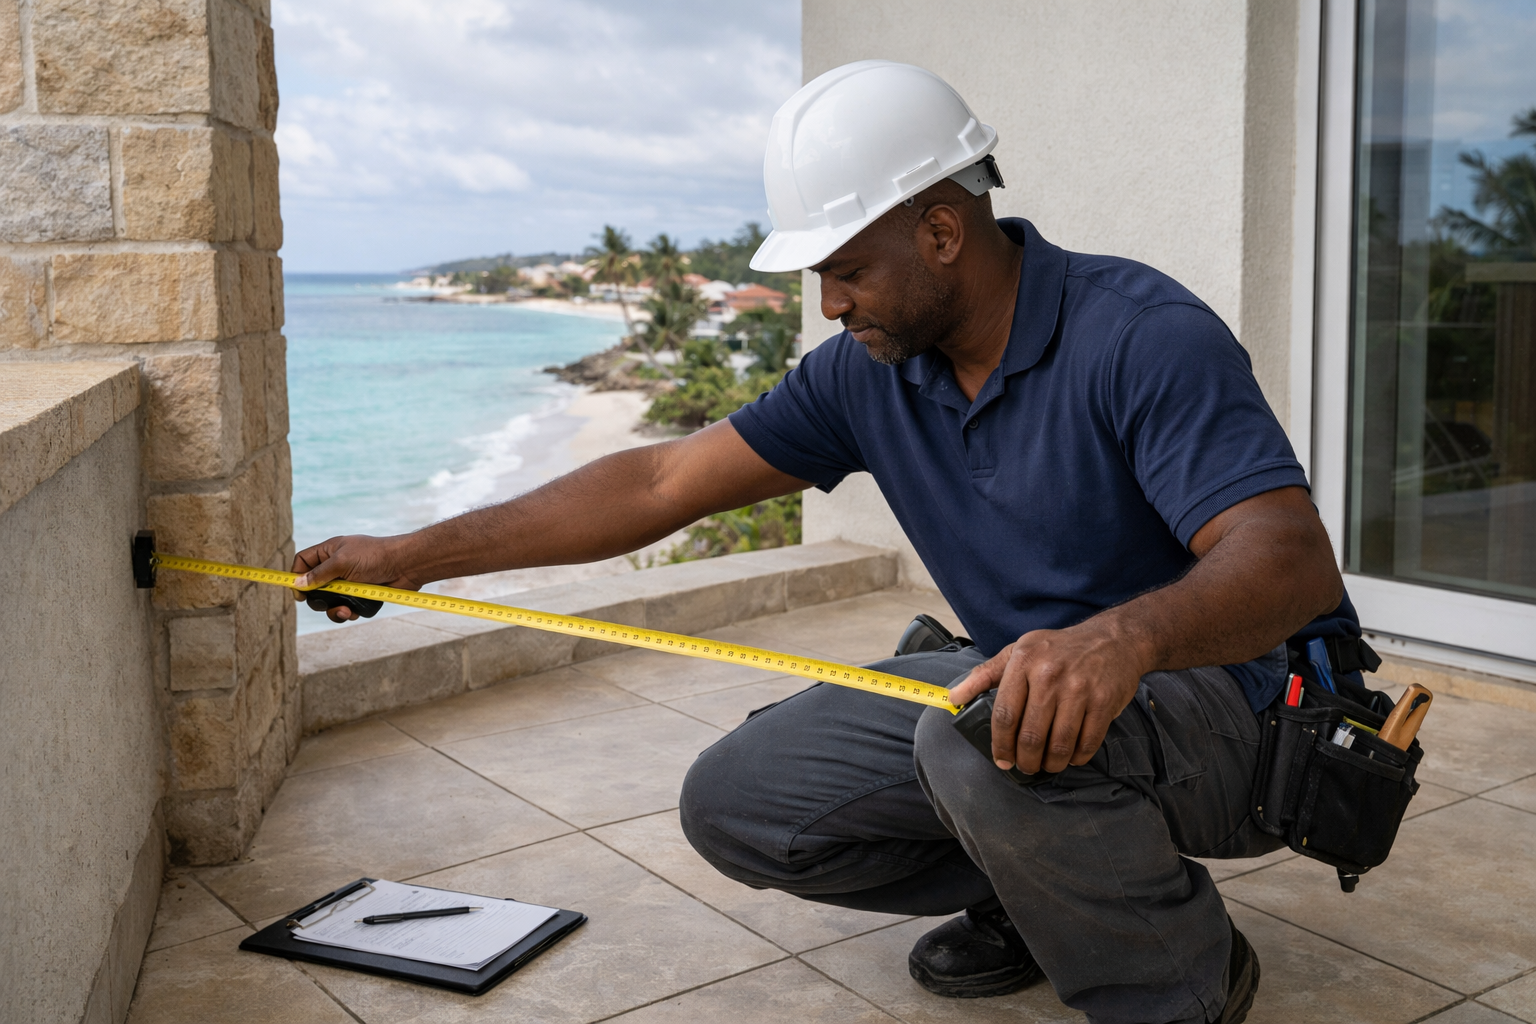
Photograph the existing post, slab edge, wall or step where you expect the metalwork to attach. Point out loose finishes and flag any tile, render or paving still to come. A measurement taken to unfinished concrete can change once the final surface goes down.
3. Show the route from the road
Include the narrow turn, steps or low overhead obstruction a crew would encounter carrying a finished section. A wide driveway at the entrance tells us little about the last few metres to a balcony.
Have the pictures, your location pin and any design reference ready. PWS checks the relevant dimensions and visible installation conditions on site. Select your location zone when booking. After payment, PWS contacts you to confirm the appointment. The paid assessment fee is credited toward the project if you proceed with PWS.
Choose your location zone and book a PWS site assessment.
